Too thrifty to pay $20.00 for something that I figured I could DIY for nearly-free, I decided to make the pinata for Eli’s birthday party last Saturday. He wanted one shaped like one of his favorite characters from the Viva Pinata Xbox game. Meet the Mousemallow:
And here is the birthday boy with the finished pinata:
Now, how we did it. Note that you’ll want to start this at least 3 days before your party. (Click on any photo to see it larger).
You will need:
2 twelve-inch diameter balloons
Old newspapers
A paper towel roll
2 paper plates
4 cups of flour (2 cups for the first layer, 2 cups for the second)
Masking tape
Acrylic paint
Tissue or crepe paper
Elmer’s Glue
Heavy String
Scissors, serrated knife, stapler, paintbrush
First, cover your work area with newspaper or an old tablecloth. (I save plastic tablecloths from the kids’ parties to use later to protect my table from art projects, as you can see from the camo one in these pics!)
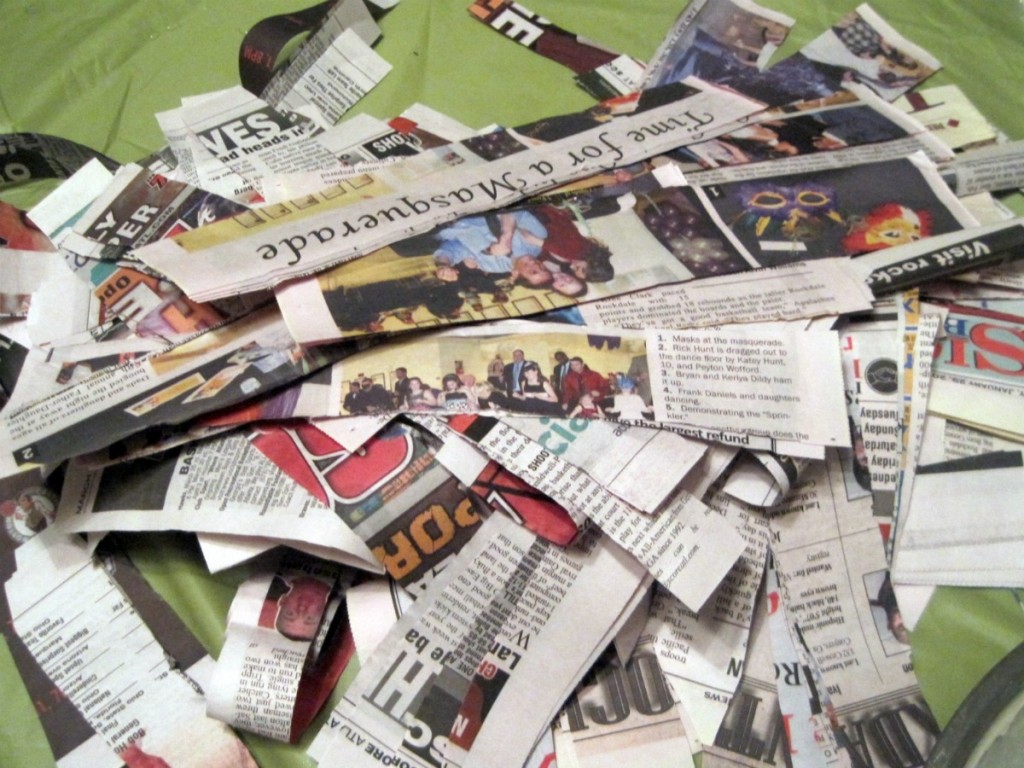
Cut old newspaper into strips about 1 to 2 inches wide and about a foot long.
Using a wire whisk, mix 2 cups flour with about 1 and 1/4 cups water until a smooth paste forms. It should be the consistency of pancake batter, maybe a little thinner.
Blow up two balloons, one larger than the other. It doesn’t matter what color you use, as it will not be seen. In this design, the mouse’s head was bigger than his body. But for most creatures, it would be the other way around. Tape them together with masking tape.
Using a serrated knife, cut a paper towel roll in half, then in half again to make four legs. Angle the tops of the legs so they’ll attach better to the balloon. As you can see, the cuts don’t have to be neat.
Tape the legs to the bottom of the smaller balloon.
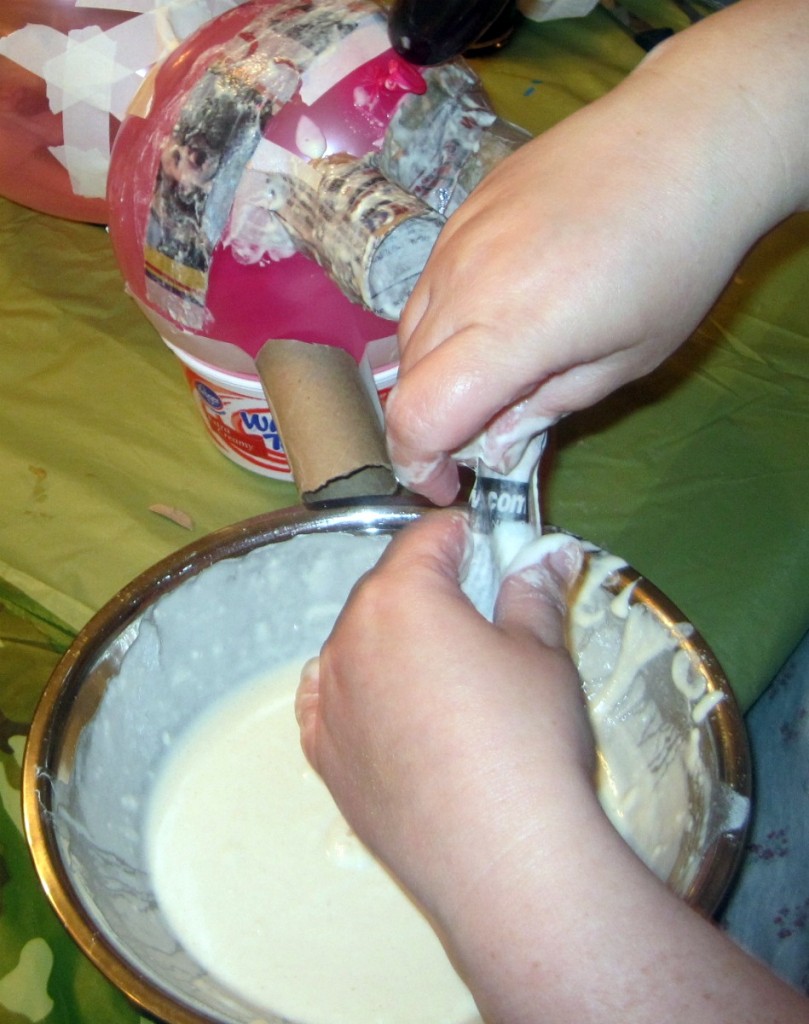
Working with one strip at a time, dip a newspaper strip into the paste, then run the strip between two fingers to remove excess paste. Lay the wet paper strip in one layer onto the pinata form, and smooth out.
Repeat until the entire form is covered in newspaper strips. Note the handy-dandy whipped topping bowl elevating the legs of our pinata. You can also just rest the head on an old plastic bag, because it will peel right off when it dries.
This is the first layer. Let it dry overnight, turning it over about halfway through the drying process. I set ours under the ceiling fan, which helped speed the process.
(Donnie says it looks like a crazy, mummified animal. Or an alien, perhaps.)
The next day, or whenever it is fully dry, make another batch of paste and add another layer of newspaper strips over the entire thing, placing them in the opposite direction as the first layer.
Repeat the overnight drying process, being sure to turn it over so both sides dry equally.
(I should tell you that some people use three layers of paper, but we found two sufficient — and this was a heavy pinata!)
When it’s totally dry, it should look like this and feel remarkably strong:
Poke a pin into each balloon and wiggle it a bit til you hear/feel the balloon inside pop. You’ll hear it peeling off the inside walls.
Paint the entire pinata in a shade of acrylic paint close to the color of the finished piece. This way, if there are gaps in your tissue paper application, they won’t be as noticeable.

Let dry, which should only take a few minutes.
(I forgot to take pictures of making the ears, but as you can tell from the picture of the finished pinata, I just traced around a paper plate onto purple wrapping paper, then cut out the circles and stapled them to the 2 paper plates. Then I cut a wedge into the paper plate to provide a flap to tape them to the head. In retrospect — and if I’d had more time — I’d have used crayons to color the patterns on the Mousemallow’s ears before stapling to the plates…there was no way to do that after I stapled without risking tearing them, and it bothered me that he didn’t have the cute patterns on his ears. I also would’ve covered the backs of the ears with tissue fringe. Oh well! I don’t think Eli even noticed!)
Cut strips of tissue paper about 2 inches wide, then cut the bottom 2/3rds into fringe as shown:
I did the same with a darker purple wrapping paper, as the Mousemallow had two shades of purple.
Use regular Elmer’s glue to glue the strips of the tissue onto the pinata, overlapping them.
I had to tear my strips of tissue fringe into 4 or 5 inch-wide sections to make it around all the curves. Note that the body and the bottom part of the mouse’s face has the fringe pointing down; the top part of his head has it pointing up. I don’t know any real reason for doing it this way except that is how the reference picture looked (see first photo.)
Before you put tissue paper on the back, use the serrated knife to cut flaps, then fill with goodies.
I didn’t get a photo of this next step (hey, it’s my first tutorial — give me a break!) but you can see it at the top of the previous picture. You should also cut two small holes in the top, about two inches apart, to hold the string that the pinata will hang from. (We used an old boot shoelace for the string.)
Finish gluing on the tissue paper until the whole thing is covered. Then draw two eyes onto cardstock and let your child try them out.
Glue them and a small nose onto the pinata, and voila! Mousemallow Lives!
We propped him up in a weighted box for support while the glue dried. (I also whited out the messy tabletop background because with it there, you barely notice the pinata! LOL)
Pass the bat, cover their eyes and have some fun!


I think you did a fabulous job on this project! I never doubted you would, though since you are so ARTSY! Who broke it? Hope it was Eli! Sounds like they all had a great time at the party.
KUDOS to you, Kari for a job well done!
Thanks, Doris–it was really fun to make! Some of the other kids got a few cracks in it — enough to let some candy fall out. But the final breaking was done by Eli, with a real baseball bat because the plastic one just wasn’t cutting it! LOL